Learn how to create your own iTunes Podcast using your WordPress.org blog without any plugin and a podcast RSS feed made with Google feed burner. This podcast RSS feed is submitted to iTunes. After approval from iTunes, the podcast is published on iTunes and available for subscription on iTunes for Mac, Windows, iPhone, iPad and iPod touch.
I create a podcast based on my WordPress.org blog ‘miApple.me – Tech.Blog‘ and made it available through the iTunes Store by following these steps:
- Created my podcast.
- Submitted it to Feedburner (this converted it to the format iTunes requires).
- Then submitting it to the iTunes store.
Now it’s your turn:
1. Create your podcast
- Create a category for your podcasts; you can name this anything you like. I named it ‘Podcasts‘.
- Create a new post and assign it to the Podcasts category. Alternatively, you can add the category ‘Podcasts‘ to an already existing post.
- Upload or embed an audio or video file or a text document. Podcasts can be in the M4A, MP3, MOV, MP4, M4V, PDF, and EPUB file formats. Note: Audio embeds from Soundcloud or video embeds from YouTube should not be used, as iTunes is unable to download the audio or video file from the embed. The uploaded file link must be something like this, including the file extension: https://miapple.me/wp-content/uploads/2015/01/AirParrot-Reflector-AirPlay-Screen-Mirroring-and-Desktop-Extension.mp4
- Publish or update the post.
- Click the View Post link to view the live post.
- Under or near the title of your post (depending on your theme), you should see a link to the category it belongs to, i.e., Podcasts. Click this link to be taken to the Podcasts category page.
- Make a note of the address now appearing in your address bar. In my case it is https://miapple.me/category/podcasts/.
Note: The sections following sections ‘Submit to Feedburner‘ and ‘Submit to iTunes‘ only need to be performed once. After that, any post you assign with your Podcasts category will be available to your subscribers.
2. Submit to Feedburner
- In a new window or tab, go to Google’s Feedburner.
- If you already have a Google account, just sign in. If not, you need to create one.
- Once signed in, you’ll see a welcome message: “Welcome to Feedburner!”. Below the welcome message is an invitation to “Burn a feed right this instant. Type your blog or feed address here:”
- Paste in the address you copied in step 7 above, but add ‘/feed/‘ to the end of it. The full feed you submit to Feedburner should be similar to this: https://miapple.me/category/podcasts/feed/
- Click the check box next to ‘I am a podcaster!‘.
- Click the ‘Next‘ button. If you see an error message at this point that your XML file is invalid, check to make sure that your blog is public. Podcasts on blogs marked private can not be submitted to iTunes.
- In the ‘Identify Feed Source‘ window, select or confirm the appropriate feed; if more than one option is shown, select the one with an address containing category/podcasts/.
- Review the Feed Title and Feed Address; you can change these, or keep them the way they are. Optionally, you can add a link for a cover image to Podcast image location, but iTunes requires that image to be 1400×1400 pixels. Then click the ‘Next‘ button.
- At the ‘Congrats‘ page, copy the feed address shown — it starts with feeds.feedburner.com and ends with the title you confirmed in the step just above. Click the ‘Next‘ button.
- In the ‘Configure Your Podcast‘ page, check the box next to ‘Include iTunes podcasting elements‘.
- Select a category and subcategory for inclusion in the iTunes store, and enter relevant information into the fields below for title, summary, and keywords. Click the ‘Next‘ button.
- Select options for statistics tracking, if desired, and click the ‘Next‘ button. Your feed is now formatted properly for submission to the iTunes store.
3. Submit to iTunes
- Follow the instructions provided by Apple to Test your Feed.
- After you have confirmed that you can listen to your podcast through your own iTunes application, follow these instructions to Submit your podcast. Note: Podcasts submitted to the iTunes Store do not become immediately available for subscription by others; they are submitted to a queue for review by iTunes staff. The approval of miApple.me’s iTunes Podcast took 4 days (2 working days).
- After your podcast feed has been accepted, you can get a link to distribute through email or websites by follow these steps for Linking to Your Podcast.
Note: You can publish multiple podcasts from your WordPress.org blog simply by creating a category for each channel and following the instructions for submitting to Feedburner / iTunes.
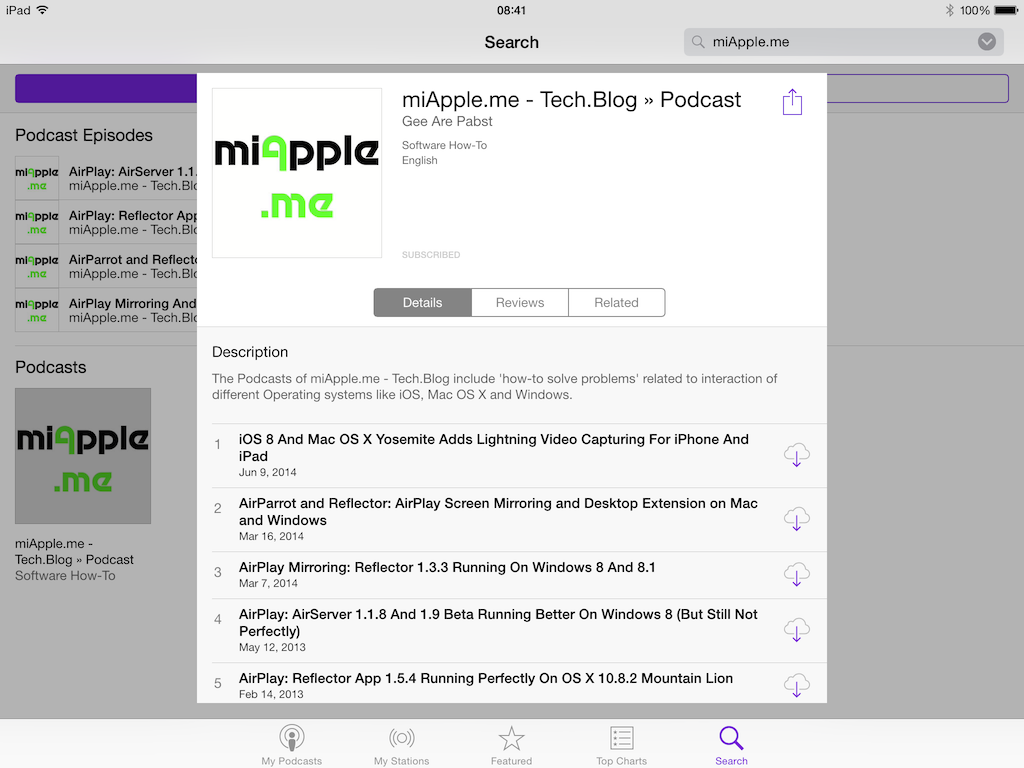
After following these instructions, your iTunes Podcast is live and ready for subscription. Comment and copy the link in, and I will subscribe your Podcast. And here’s mine, ready for subscription: miApple.me’s iTunes Podcast 😉
Stay tuned! 😉
Pingback: miApple.me - Tech.Blog: iTunes Podcast Published - miApple.me
Pingback: iTunes Connect: Now Adding and Refreshing Podcasts without iTunes - pabst.socialmedia
Thank you for these helpful instructions! Something I noticed is that Feedburner doesn’t give me an option to edit the public Title of the feed…. it chose the exact name of the category in WordPress.